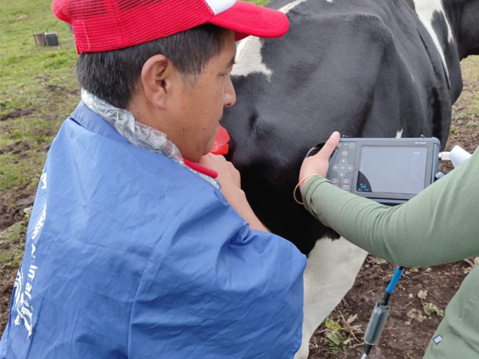
The clarity of the image from a veterinary ultrasound machine depends on the probe selected, the gain setting on the machine, and the preparation of the subject. Preparation of the animal should include trimming the hair in the area of interest. Hair traps air, which can interfere with sound transmission. In areas with thin or fine hair, air can be eliminated by using a coupler. After the hair has been clipped or wetted, ultrasound gel is used to ensure good contact and sound transmission from the transducer to the animal tissue. Gain settings on the machine are used to vary the intensity of the echo returned from the structure of interest. Since the intensity of the ultrasound beam decreases with increasing depth in the tissue, the machine can be adjusted to compensate for signal loss. In most machines, this compensation is variable, with the slope adjusted for increased signal loss due to sound reflection and refraction caused by the tissue inserted between the transducer and the *** deep structure to be imaged. The choice of transducer should be based on the thickness of the area to be examined and, if possible, the transducer focusing zone should be matched to the depth of the general area of interest.
Decreasing the transducer frequency is associated with an increase in the depth of ultrasound penetration, with an associated loss of resolution. The frequency of the selected transducer should be sufficient to penetrate the subject without setting the gain too high. If the signal is not strong enough (e.g., the image is too dark), the gain setting should be increased or a lower frequency transducer selected. If the signal is too bright, reduce the gain or select a higher frequency transducer. Using a high-frequency transducer at a high gain setting to compensate for the lack of ultrasound penetration can produce artifacts that may lead to incorrect interpretation.
Post time: Mar-01-2024


