


When a veterinarian needs to set up an ecg machine, there are certain steps that need to be followed to ensure the accuracy and reliability of the ecg. The following is a detailed setup procedure:
1. Check the veterinary ECG machine:. First, make sure that the ECG machine is in good working condition and that all necessary accessories, such as lead wires, electrodes, batteries, or power cords, are complete and undamaged. Clean the surface of the ECG machine to make sure it is neat and ready for use.
2. Connect the ground wire: Connect the ground wire to ensure that the ECG machine will not be interfered with by other electronic devices when in use. Check that the ground wire is firmly connected to prevent errors due to poor contact.
3. Power Setup: If the ECG machine needs to be connected to a power source, make sure that the power cord is plugged into the correct outlet and check that the power indicator lights up properly. If using battery power, make sure the battery is fully charged.
4. Setting parameters: Turn on the veterinary ECG machine and enter the setting menu. Adjust the following parameters according to the type of animal to be examined and the need for ECG: Filter Frequency: Select the filter frequency suitable for the animal to minimize noise such as muscle tremor, respiratory fluctuation or AC interference. Sensitivity: Set the appropriate gain according to the size of the ECG wave group of the animal. Often, wave clusters that are too large or too small need to be adjusted to obtain a clearer waveform. Paper Speed: Select the appropriate paper speed according to the animal’s heart rate. Faster paper speed is suitable for animals with faster heart rate, while slower speed is suitable for animals with slower heart rate. Zero Line: Ensure that the zero line is centered on the ECG sheet for accurate ECG interpretation. 5.
5. Lead Selection: Select the appropriate lead configuration for your examination. Different lead configurations can provide different ECG signals. Depending on the species and size of the animal, select the appropriate lead configuration.
gel-wetted electrodes to increase conductivity. Gently place the electrodes in the intended position to ensure that the electrodes fit tightly against the skin.
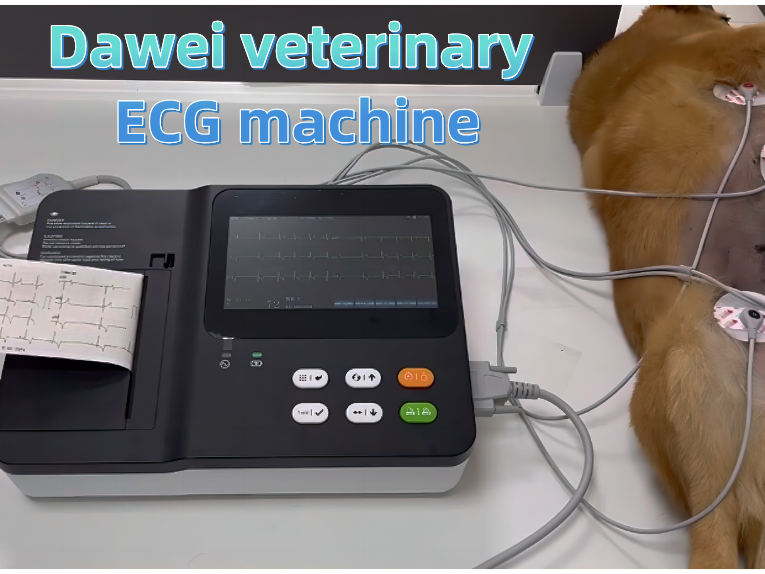
7. Connect the lead wire:. Connect one end of the leadwire to the appropriate port on the ECG machine. Connect the other end to the electrode and make sure the connection is firm and not loose.
8. Test the ECG:. After everything is in place, perform an ECG test. Make sure the ECG waveform is clear and stable without excessive noise interference. If the waveform is not satisfactory, adjust the parameters or reposition the electrodes to get better results.
9. Record and analyze. Once a satisfactory ECG waveform is obtained, the data can be recorded and saved for subsequent analysis. Use the ECG analysis software or manually analyze the ECG waveforms to assess the animal’s heart health.
10. End operation: After completing the ECG examination, turn off the vet ECG machine and disconnect all connections. Clean and organize the ECG machine and its accessories for next use. Please note that the above steps are for reference only and the exact setup method may vary depending on the model, brand or animal species of the ECG machine. Before performing an ECG, please read the ECG machine’s instruction manual carefully and follow your veterinarian’s instructions.
Post time: Jun-27-2024